
Tracks and layers
A track is one song, look, or programme segment. Each track holds layers (audio, video, image, camera, recording) and its own cues. Playback, the cuelist, and grandMA3 Live Link follow the current track.
Create tracks
Section titled “Create tracks”Add Audio file
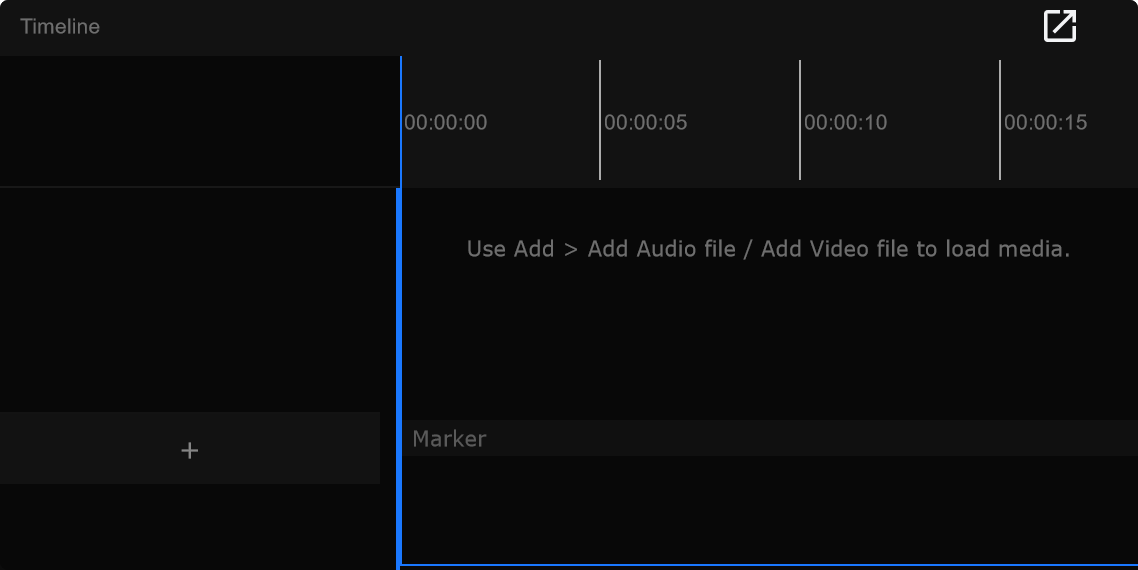
Section titled “Add Audio file”Add -> Add Audio file opens a file picker and places audio on a track (new track or current track depending on context).
When to use: First media into an empty show, or extra stems on an existing song.
Add Video file
Section titled “Add Video file”Add -> Add Video file adds a video layer / clip.
When to use: Playback video synced to the same track as audio and cues.
Add Image file
Section titled “Add Image file”Add -> Add Image file adds a still image layer.
When to use: Logos, stills, or slide-style looks without a full video file.
Camera Layer
Section titled “Camera Layer”Add -> Camera Layer creates a live camera layer (no file).
When to use: Live camera input during rehearsal or show, previewed in Video Preview.
Drop files
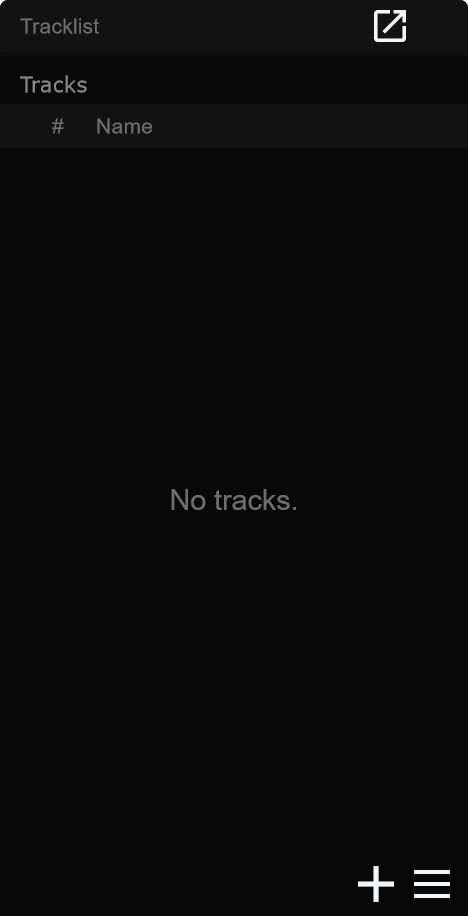
Section titled “Drop files”Drop audio / video / image onto the tracklist or timeline to create or fill layers.
When to use: Fast setlist builds from a folder of songs.
Create multiple Tracks at once…
Section titled “Create multiple Tracks at once…”File -> Create multiple Tracks at once… - one track per dropped audio file; each file becomes the first audio layer on its track.
When to use: Import a whole album or setlist folder in one pass.
Select a track in the tracklist to make it current.
Layers
Section titled “Layers”Layers stack media inside a track. Typical kinds: Audio, Video, Image, Camera, Record audio / Record video.
Select a layer
Section titled “Select a layer”Click a layer on the left strip or on the timeline waveform / clip.
When to use: Focus one stem before mute, volume, pan, or settings.
Multi-select layers
Section titled “Multi-select layers”Ctrl+click (Cmd+click on Mac) adds or removes layers from the selection. Click tracklist background or a cue to clear.
When to use: Collapse or mute several stems together without touching every row.
Mute, volume, pan, and settings keep their own clicks so adjusting a fader does not steal a multi-selection.
Collapse / expand layers
Section titled “Collapse / expand layers”Collapse / expand (! / Shift+1)
Section titled “Collapse / expand (! / Shift+1)”Press ! or Shift+1 (same physical key on most layouts). Command name: Collapse / expand layers.
| Selection | Effect |
|---|---|
| No layer selected | Toggles collapse for all visible layers |
| One or more layers selected | Toggles only those layers |
Collapsed rows stay short and keep mute, pan, volume, and settings reachable.
When to use: Dense overview on a long multi-stem setlist during programming or show.
See Default shortcuts.
Mute, volume, and pan
Section titled “Mute, volume, and pan”Silences that layer without removing it. Still available on collapsed rows.
When to use: Kill a click / guide stem in the room while keeping it in the project.
Volume
Section titled “Volume”Layer level on the strip.
When to use: Balance stems before you reach for the Player master.
Stereo placement where the layer supports it.
When to use: Nudge a stereo stem left/right without opening Track Settings.
Player master / track volume
Section titled “Player master / track volume”The Player also has master / track volume and mute for monitoring. LTC is not affected by the Player volume slider.
When to use: Room monitor level while layer mutes stay show-safe.
Track Settings
Section titled “Track Settings”Open Track Settings
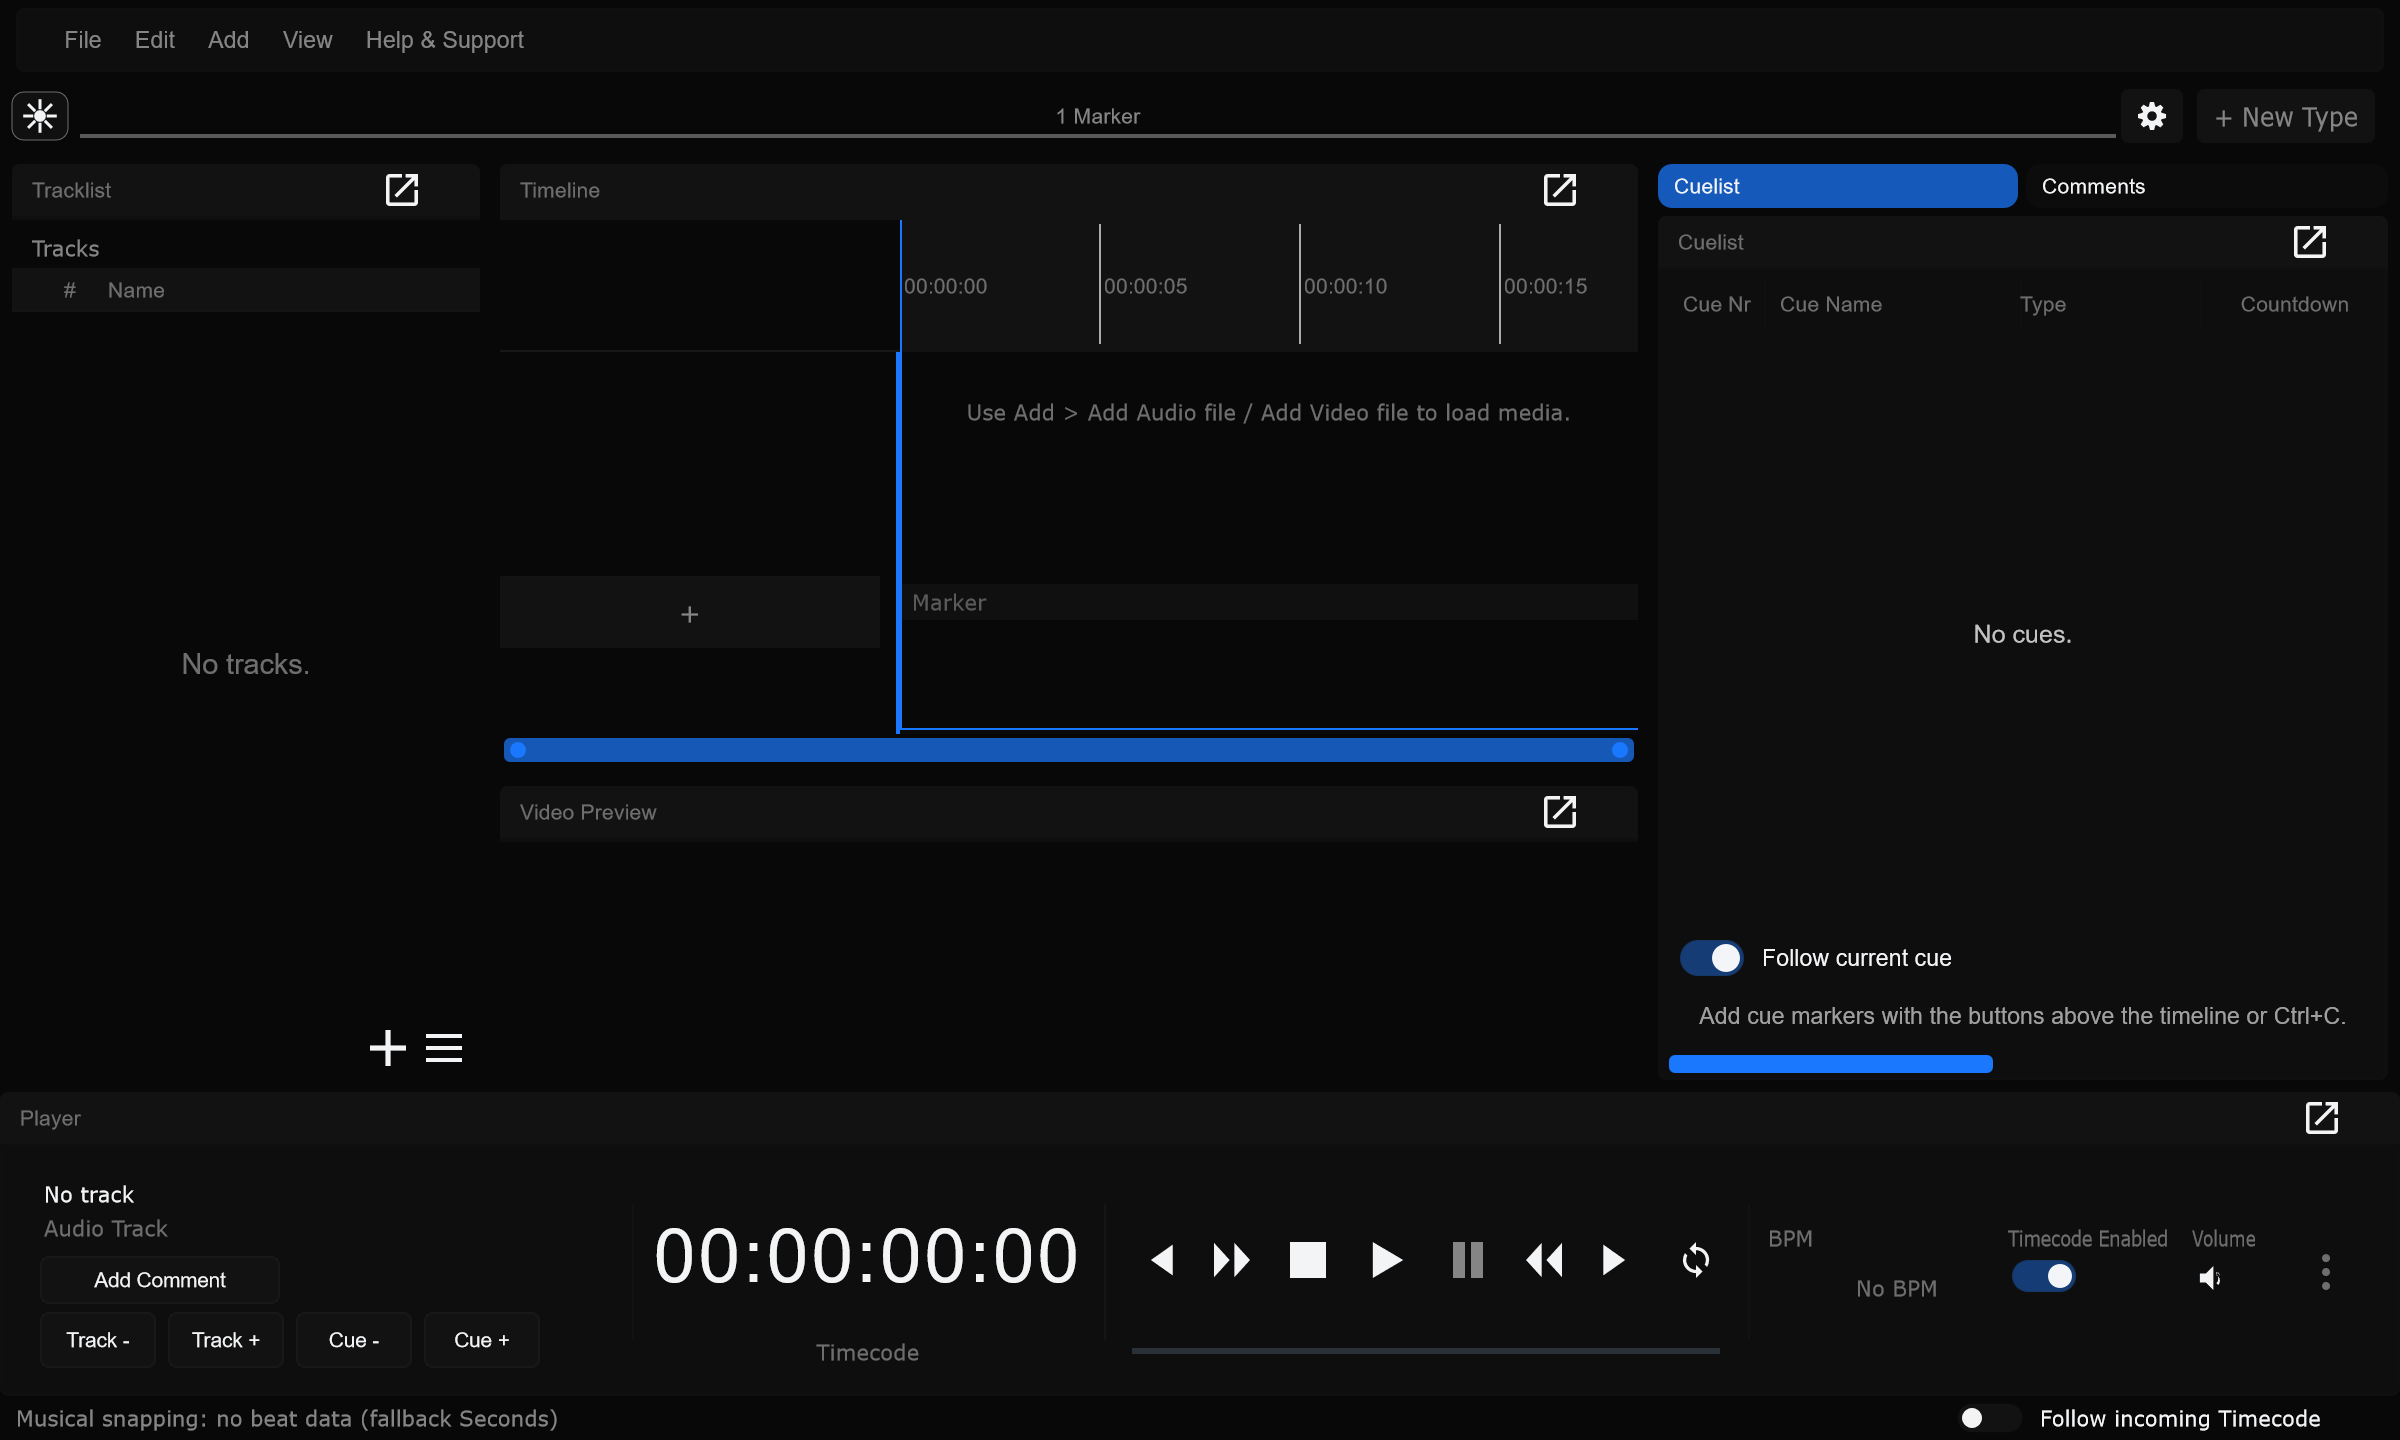
Section titled “Open Track Settings”Ctrl+T (Cmd+T on Mac), or the settings control on the track / layer UI. Full tab detail: Track settings.
| Tab | Typical contents |
|---|---|
| Track | Name, shortname, notes, list colour, BPM / beat grid, auto vs fixed length |
| Timecode | Offsets, pre-roll, source in/out |
| GrandMA3 Export | Sequence, executor, timecode pool / slot |
| PIXERA | Per-track Pixera Live Link options |
Track notes also appear in View -> Track notes (Comments and notes).
When to use: Rename a song, set pre-roll, or wire export fields before a desk / mediaserver handoff.
Find a track
Section titled “Find a track”Find tracks (Ctrl+F)
Section titled “Find tracks (Ctrl+F)”Ctrl+F opens tracklist find by number, name, or sequence. Works even when a text field has focus.
When to use: Jump mid-set during busy programming without scrolling the whole list.
Delete a track
Section titled “Delete a track”Use track context actions / Delete Track to remove a track. Prefer replacing media if you only meant to swap a file.
When to use: Drop a cancelled song from the setlist.
Related
Section titled “Related”- Cues
- Playback
- Panels and layouts
- Menus - Add and File items